Getting the Most From Your Insulated Food Jar: A Guide to Fresh and Delicious Meals On-the-Go
In today's fast-paced world, an insulated food jar is a true hero, allowing you to enjoy homemade meals on-the-go without compromising taste or freshness. Whether you're a student, a professional, or an adventurer, mastering the art of using your insulated food jar can elevate your dining experience and save you time and money. Here's a guide to help you get the most out of this ingenious kitchen companion.
1. Preheat for Optimal Performance: Before you load up your insulated food jar, preheat it with hot water for a few minutes. This step primes the container, ensuring that your food stays hot for an extended period. For cold meals, pre-chill the container using cold water or by storing it in the refrigerator before use.
2. Choose the Right Food: Insulated food jars are versatile and can keep a variety of meals hot or cold. Opt for dishes that retain their quality when reheated, like soups, stews, pasta, rice dishes, and chili. Cold salads, yogurt parfaits, and fruit salads are great options for maintaining freshness.
3. Timing is Key: Plan your meals so that they're ready to be packed into the insulated food jar just before you head out. This minimizes the time your food spends at room temperature, ensuring maximum freshness and food safety.
4. Fill to the Brim: When filling your food jar, try to fill it as much as possible to minimize air space. Less air means less heat transfer, which helps maintain the temperature of your food.
5. Seal the Deal: Securely seal the lid of your insulated food jar to prevent heat or cold from escaping. Some models come with locking mechanisms to ensure an airtight seal – make sure you use them.
6. Think About Layering: For dishes that tend to get soggy when mixed too early, consider layering your ingredients. For instance, you could place the wet ingredients at the bottom and the dry ones on top. This way, you can mix them right before eating, keeping the textures intact.
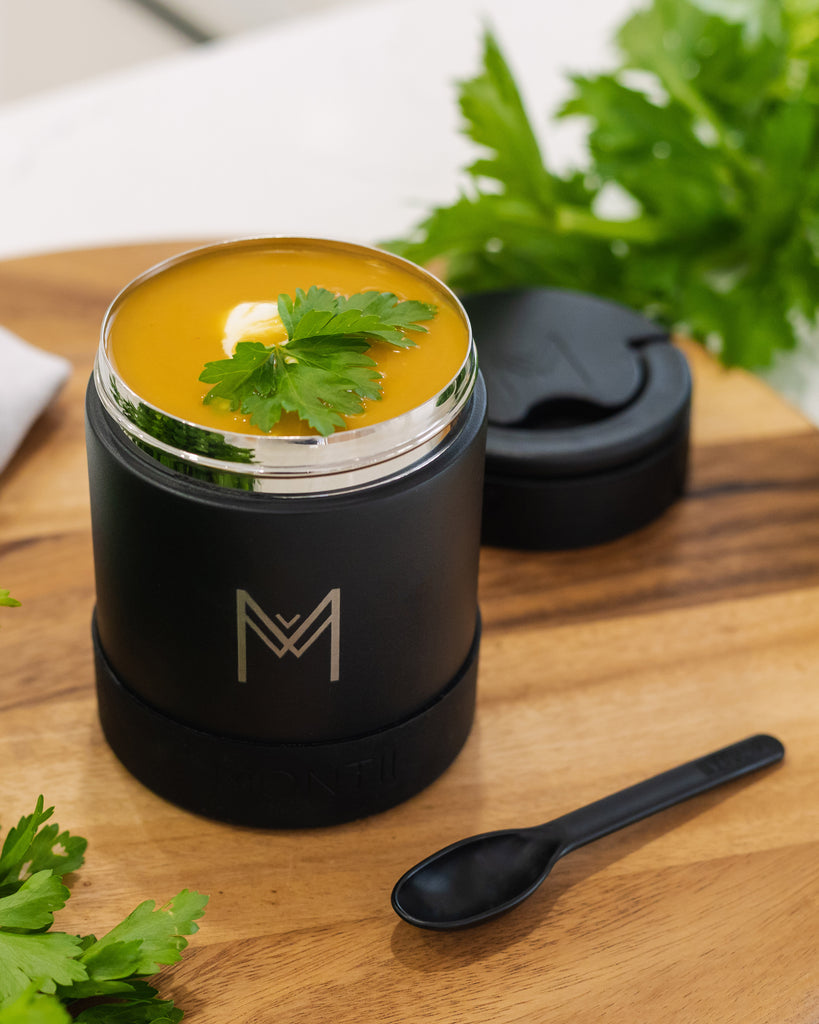
7. Play with Accessories: Many insulated food jars come with extra accessories like a built-in foldable spoon, fork, or a separate compartment for condiments. Utilise these features to make your meals more enjoyable and convenient.
8. Don't Forget About Cleaning: Cleaning your insulated food jar after each use is crucial to prevent lingering odours or stains. Many food jars are dishwasher-safe, but if yours isn't, a mix of warm water and dish soap should do the trick.
9. Experiment and Enjoy: Don't limit yourself to traditional meals. Insulated food jars can keep beverages hot or cold too, so consider filling them with your favourite tea, coffee, or even a refreshing smoothie.
10. Stay Safe: Always make sure that your food is properly cooked and stored at a safe temperature. If you're packing perishable items, use an ice pack to maintain the cold temperature.
In Conclusion: An insulated food jar is a game-changer for those who want to savour their favourite meals wherever they go. By following these tips, you can ensure that your meals remain at the perfect temperature and taste just as good as if they were freshly made. With a bit of planning and creativity, your insulated food jar can become your culinary sidekick, allowing you to enjoy delicious and satisfying meals no matter where life takes you.
Take a look at some of our handpicked Food Jars from bbox, and yumbox